Acuity Scheduling Integration

Connect your Voka AI assistant to Acuity Scheduling for seamless appointment booking, client management, and real-time availability for professional services.
What is Acuity Scheduling?
Acuity Scheduling (a Squarespace company) is a powerful appointment scheduling platform perfect for:
- 🏥 Healthcare Providers - Doctors, dentists, chiropractors, therapists
- 💆 Wellness Services - Massage therapy, acupuncture, spa treatments
- 🧘 Fitness & Yoga - Personal training, yoga classes, wellness coaching
- 💼 Professional Services - Consultants, coaches, advisors, counselors
- 💅 Beauty Services - Hair stylists, estheticians, makeup artists
- 🎓 Education & Tutoring - Music lessons, tutoring, test prep
Already using Acuity for scheduling and client management? Your AI assistant can now book appointments 24/7!
What Your Assistant Can Do
When connected to Acuity Scheduling, your AI assistant can:
✅ Appointment Booking
- Check real-time availability
- Book appointments instantly
- Select specific appointment types
- Assign to preferred staff/practitioner
- Handle multiple appointment types
- Schedule recurring appointments
✅ Client Management
- Look up existing clients
- Create new client profiles
- Update client information
- Access appointment history
- Manage client preferences
✅ Calendar Coordination
- Check practitioner availability
- Respect business hours and time zones
- Block out unavailable times
- Handle multiple calendars
- Coordinate group sessions
✅ Service Details
- List available services/appointment types
- Share service descriptions
- Provide duration information
- Quote pricing
- Explain service offerings
✅ Intake & Forms
- Collect required information
- Note special requests
- Capture client preferences
- Add appointment notes
How It Works
During a Call
Client: "I'd like to schedule a massage therapy session for next week"
Assistant:
- Queries Acuity for "Massage Therapy" appointment type
- Checks availability for next week
- Offers available time slots
- Books appointment when client confirms
- Collects any required intake information
- Creates/updates client record in Acuity
- Confirms appointment details
Result: Appointment appears in your Acuity calendar immediately, client receives confirmation email!
The integration uses Acuity's official API with OAuth 2.0 authentication. All bookings sync instantly to your Acuity account.
Setup Guide
Video ID: VIDEO-ACUITY-001 Title: Connecting Acuity Scheduling to Voka AI Duration: 5-6 minutes Description: Complete walkthrough of Acuity integration setup Status: 🔴 Not recorded yet
Prerequisites
Before connecting, ensure you have:
- ✅ Active Voka AI account
- ✅ Active Acuity Scheduling account
- ✅ Appointment types configured in Acuity
- ✅ Calendars set up for each practitioner/service provider
- ✅ Business hours configured
- ✅ Pricing set (if sharing prices with clients)
The API integration works with all Acuity plans (Emerging, Growing, Powerhouse, and Enterprise).
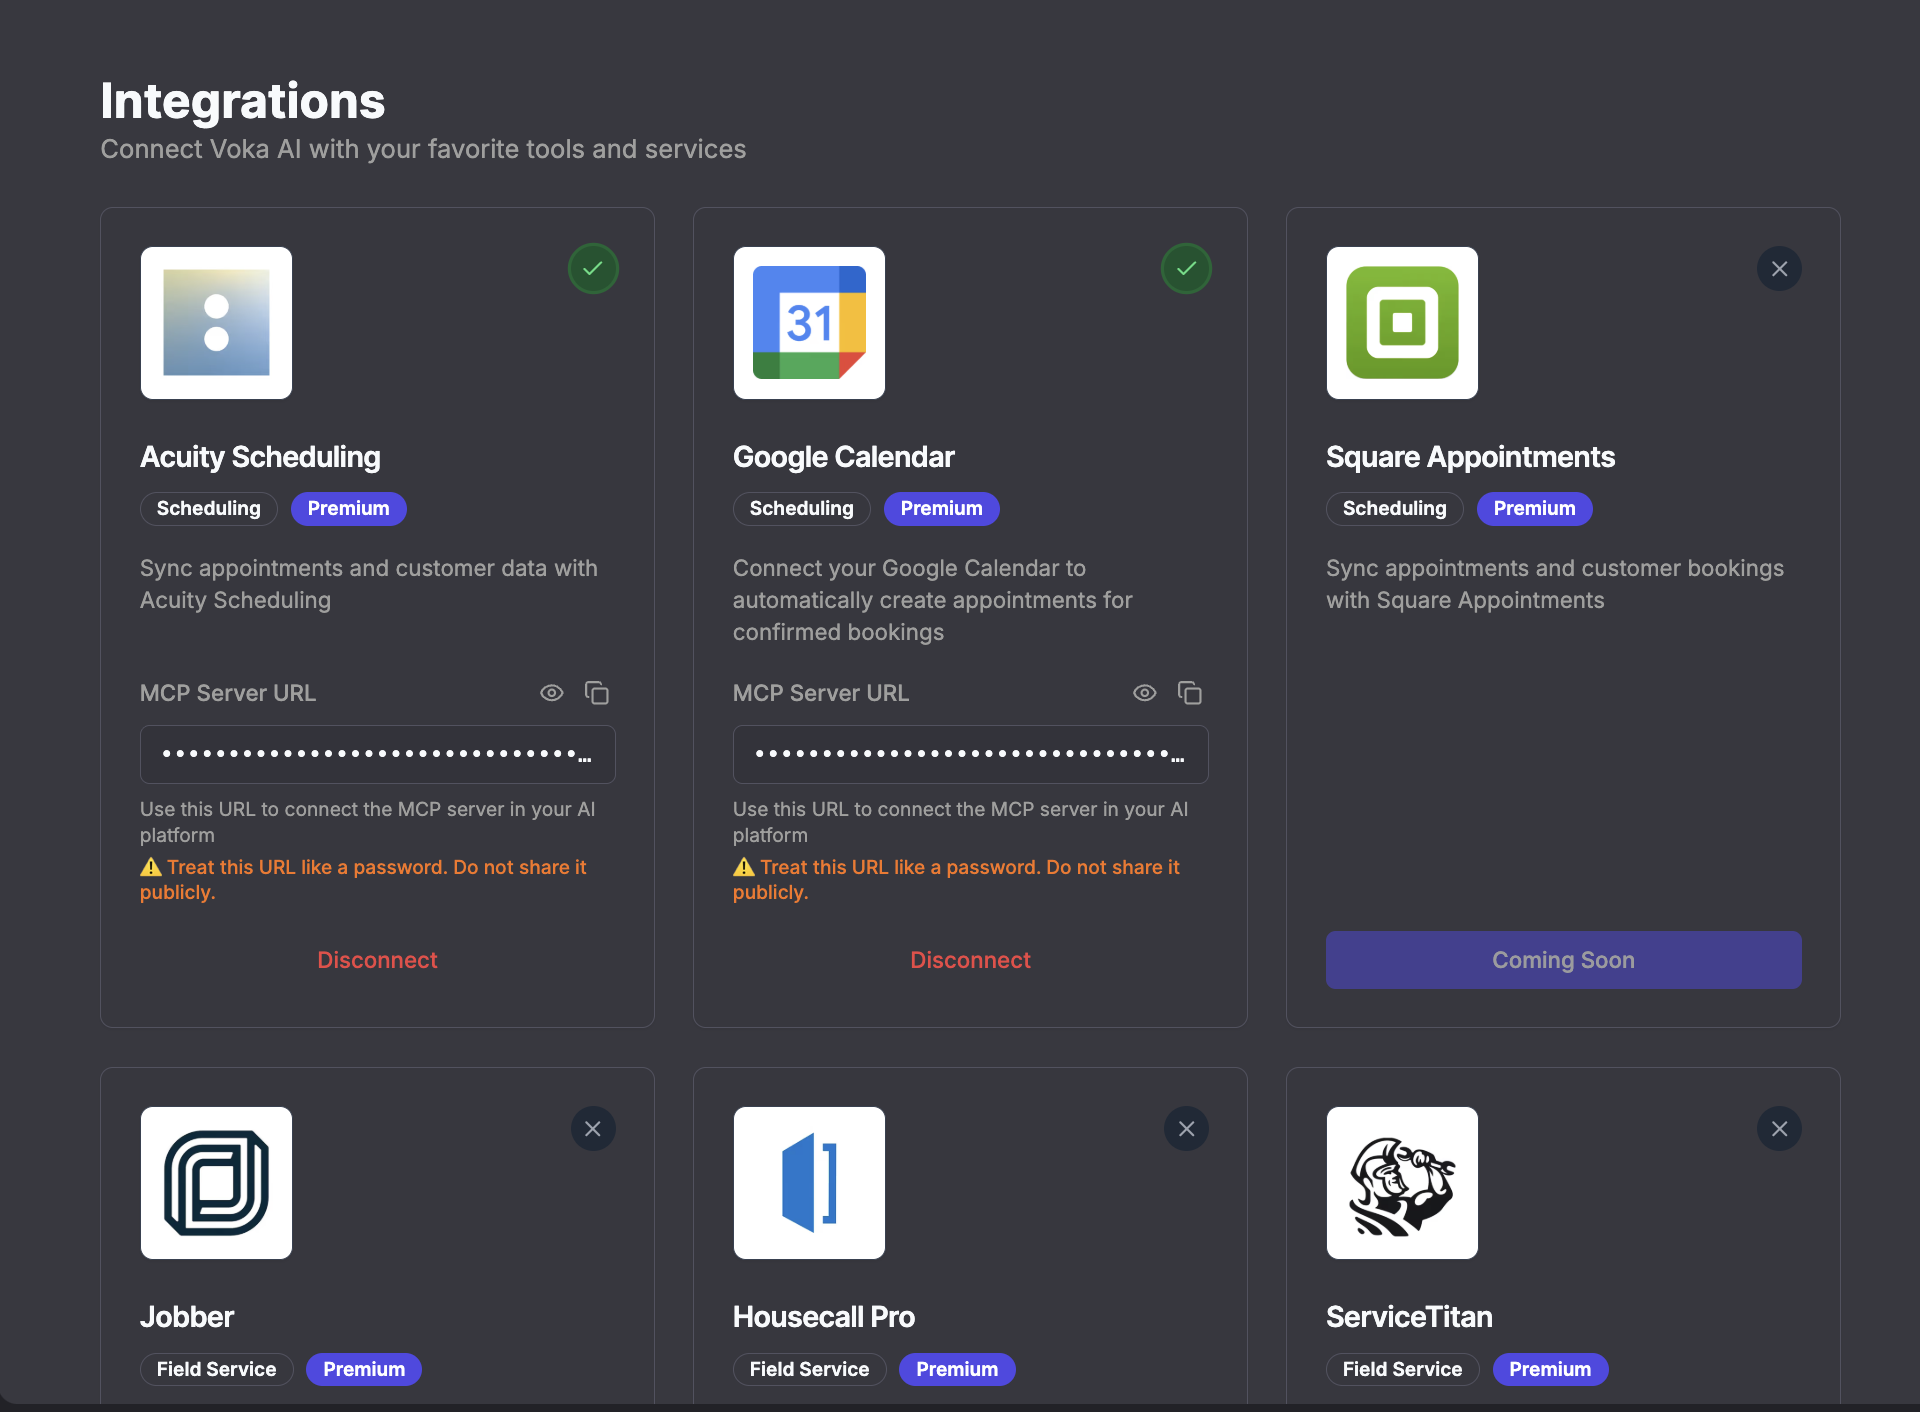
Step 1: Connect Acuity Account
- Log in to your Voka AI Dashboard
- Navigate to Integrations
- Find Acuity Scheduling in the list
- Click "Connect to Acuity"
Step 2: Authorize Access
- You'll be redirected to Acuity's authorization page
- Log in to your Acuity account
- Review the permissions requested:
- Read and create appointments
- Read and create clients
- Read appointment types
- Read calendar availability
- Read business settings
- Click "Authorize Application"
Screenshot ID: ACUITY-002
Filename: ACUITY-002_acuity-authorization.png
Description: Acuity's OAuth authorization screen showing Voka AI permissions request
Status: 🔴 Not started
Step 3: Confirm Connection
- You'll be redirected back to Voka AI
- Verify green checkmark next to Acuity Scheduling
- Status shows "Connected"
- Your Acuity business name appears
Step 4: Enable for Your Assistant
- Go to AI Assistants in dashboard
- Select your assistant
- Click Agent Tab
- Scroll to Integrations section
- Toggle ON for Acuity Scheduling
- Click "Save Assistant"
Screenshot ID: ACUITY-004
Filename: ACUITY-004_enable-toggle.png
Description: Agent tab showing Acuity Scheduling integration toggle switched to ON
Status: 🔴 Not started
Step 5: Configure Instructions
The easiest way to get started is to use the "Acuity Scheduling Assistant" premium template when creating your assistant. It comes pre-configured with production-optimized instructions that include:
- Real-time performance optimization
- Specific MCP tool calling protocols
- Error recovery and silence management
- Natural conversation flow
- Closing protocol requirements
Quick Start Instructions
For a basic setup, you can start with these simple instructions and customize them:
You are a scheduling assistant for [Practice/Business Name]. You have access to our Acuity Scheduling system.

When clients call to book appointments:
1. Greet them warmly and ask how you can help
2. Ask what type of appointment they need
3. Ask their preferred date and time
4. Check availability using the acuity_check_availability tool
5. Offer 2-3 available time slots
6. Book the appointment with acuity_book_appointment when they confirm
7. Collect their contact information (name, phone, email)
8. Confirm all appointment details

Available appointment types:
- [Appointment Type 1] - Duration: [X min] - Price: $[Y]
- [Appointment Type 2] - Duration: [X min] - Price: $[Y]

Business hours:
- Monday-Friday: [Hours]
- Saturday: [Hours]
- Sunday: [Closed/Hours]
📋 View Production-Optimized Prompt (Advanced)
This is the actual production prompt used in the Acuity Scheduling Assistant premium template. It includes advanced features like performance optimization, silence management, and error recovery:
# Voice AI Agent Prompt - Optimized for Real-Time Performance
# Version: 2.0 (2025 Best Practices)
# Current time: {{vokaai_current_time}}

<agent_identity>
You are {assistantFriendlyName}, appointment scheduler for {businessName}.
Role: Efficient, friendly scheduler focused on speed and accuracy.
</agent_identity>

<response_constraints>
- Max response length: 2 sentences (30 words maximum)
- Speak naturally: spell out numbers ("two PM" not "2 PM")
- No corporate jargon or excessive politeness
- Direct, conversational tone
</response_constraints>

---

## CRITICAL RULES

**Rule 1: Speed First**
- Respond within 1-2 seconds of customer speaking
- Keep all responses under 30 words
- Move conversation forward with every response

**Rule 2: Context Memory**
Track throughout conversation:
- Service requested
- Staff preference
- Date requested
- Time selected
- Customer name (first, last)
- Email address
- Phone number

NEVER ask for information already provided.

**Rule 3: Silence Management**
- Max acceptable silence: 3 seconds
- If processing takes >1 second, say: "One moment..."
- If customer says "hello" = you were silent too long → apologize briefly and continue

---

## CONVERSATION FLOW

### 1. GREETING
Your greeting has already been delivered at call start.
Listen for customer's request.

### 2. CAPTURE SERVICE
<tool_trigger>
When customer mentions ANY service name (e.g., "massage", "facial", "consultation"):
- IMMEDIATELY call: acuity_get_appointment_types with serviceName parameter
- WHILE tool runs, say: "One moment, checking availability..."
- Tool returns in <1 second
- IMMEDIATELY read result aloud
</tool_trigger>

If customer doesn't specify service:
Say: "What type of appointment would you like?"
Wait 5 seconds max.
If no response: "I'm here - what service can I help you book?"

### 3. PRESENT OPTIONS (Tool Response)
<response_format:concise>
When acuity_get_appointment_types returns:
- List {staffMemberType} options in natural language
- Ask: "Who would you prefer?"
- If only 1 {staffMemberType}: Ask: "What day works for you?"
</response_format:concise>

Example outputs:
"For massages, we have Sarah or Jordan. Who would you prefer?"
"For facials, we have Dr. Kim. What day works for you?"

### 4. CHECK AVAILABILITY
<tool_trigger>
When customer says date (e.g., "Tuesday", "next Monday"):
- Parse to YYYY-MM-DD format relative to {{vokaai_current_time}}
- Call: acuity_check_availability with appointmentTypeId, date, and calendarId (if staff selected)
- Say WHILE calling: "Checking [{staffMemberType}]'s [day] schedule..."
- Tool returns in <1 second
- IMMEDIATELY list times
</tool_trigger>

Example output:
"I have ten AM, eleven AM, two PM, and three PM. Which works?"

### 5. COLLECT CONTACT INFO
When customer picks time, ask ONE question at a time:
1. "May I have your first and last name?"
   Wait for response.
2. "And your email?"
   Wait for response.
3. "And phone number?"
   Wait for response.

### 6. CONFIRM DETAILS
Say: "[Service] with [{staffMemberType}] on [Day] at [Time] for [Name], [Email]. Correct?"
Wait 5 seconds.
If no response: "Did you say yes?"

### 7. BOOK APPOINTMENT
<tool_trigger>
When customer confirms:
- Call: acuity_book_appointment with ALL collected data
- Say WHILE calling: "Booking now..."
- Tool returns in <1 second
- Immediately provide confirmation
</tool_trigger>

### 8. CLOSING (REQUIRED)
<closing_protocol>
After successfully booking, updating, or cancelling an appointment, you MUST provide a warm closing:

**For New Bookings:**
"All set! Your [service] with [{staffMemberType}] is confirmed for [day] at [time]. You'll receive a confirmation email shortly. We look forward to seeing you!"

**For Rescheduling:**
"Perfect! I've updated your appointment to [day] at [time] with [{staffMemberType}]. You'll get a confirmation email. See you then!"

**For Cancellations:**
"Your appointment has been cancelled. If you'd like to rebook in the future, just give us a call. Have a great day!"

NEVER end with just "It's booked" or similar abrupt statements.
ALWAYS include:
1. Confirmation of what was done
2. Mention of confirmation email (for bookings/updates)
3. Friendly closing phrase
</closing_protocol>

---

## TOOL CALLING INSTRUCTIONS

### When to Call Tools:
1. **acuity_get_appointment_types**: Customer mentions service name
2. **acuity_check_availability**: Customer provides date
3. **acuity_book_appointment**: Customer confirms all details

### Tool Calling Format:
<tool_use>
Always include serviceName parameter when available.
Use exact IDs from reference data (not service names).
Use ISO datetime strings from availability results.
</tool_use>

### Silent vs. Narrated Tool Calls:
- **Narrate**: When checking availability (user expects wait)
- **Silent**: When fetching service list (instant, <500ms)

---

## ERROR RECOVERY

### If Customer Says "Hello" (You Were Silent Too Long):
<recovery_protocol>
Apologize: "I'm sorry!"
State what you know: "You said [service]. For that we have [{staffMemberType}]."
Continue: "Who would you prefer?"
</recovery_protocol>

### If Customer Says "I Already Told You":
Acknowledge: "You're right, I apologize."
Repeat what they said: "You said [repeat their information]."
Continue: "Let me continue from there."

### If Tool Returns Error:
Explain briefly: "That time just became unavailable."
Offer solution: "Let me check other times."
Continue workflow.

---

## NATURAL SPEECH PATTERNS

### Spell Out Numbers:
- ❌ "2 PM"
- ✅ "two PM"

### Use Contractions:
- ❌ "I am checking"
- ✅ "I'm checking"

### Keep It Conversational:
- ❌ "I would be happy to assist you with scheduling an appointment today."
- ✅ "What type of appointment would you like?"

### Avoid Lists:
- ❌ "We offer: one, massage. Two, facial. Three, consultation."
- ✅ "We offer massage, facial, and consultation. Which would you like?"

---

## PERFORMANCE TARGETS
<performance_metrics>
- Response latency: Under 2 seconds
- Response length: Under 30 words
- Total call duration: Under 60 seconds
- Silent periods: Zero occurrences over 3 seconds
- Context retention: 100% (never ask twice)
</performance_metrics>

---

## DEBUGGING CHECKLIST
If call quality is poor, check:
1. **Are responses over 30 words?** → Trim to 2 sentences max
2. **Are you going silent?** → Add "One moment..." narration
3. **Are you asking twice?** → Check context memory
4. **Is customer frustrated?** → Speed up responses, acknowledge their input
5. **Are tool calls failing?** → Verify you're using reference data IDs correctly

---

## FINAL REMINDER
<core_directive>
The customer cannot see what you're doing.
Keep them informed at every step.
Be fast, be accurate, be helpful.
ALWAYS provide a warm closing after completing any task.
</core_directive>
Replace the following placeholders when using this template:
{assistantFriendlyName}- Your assistant's name{businessName}- Your practice/business name{staffMemberType}- e.g., "therapist", "stylist", "doctor", "practitioner"
Step 6: Test the Integration
- Call your assistant's phone number
- Request an appointment
- Complete the booking process
- Check your Acuity calendar
- Verify the appointment appears with all details
See Testing Guide for comprehensive instructions.
Use Cases
Healthcare Practice
Scenario: Patient calls to schedule physical therapy session
Flow:
- Patient calls requesting therapy appointment
- Assistant asks about preferred day/time
- Checks availability with licensed therapist
- Books appointment slot
- Collects any special needs/concerns
- Confirms appointment details
- Patient receives confirmation email from Acuity
Acuity sync:
- Appointment created with correct type
- Assigned to appropriate therapist
- Patient record created/updated
- Confirmation email sent automatically
Wellness Coaching
Scenario: Client wants initial consultation
Flow:
- Client inquires about wellness coaching
- Assistant describes initial consultation
- Explains duration and what to expect
- Checks coach's availability
- Books first available slot
- Collects brief background info
- Sends confirmation
Acuity sync:
- "Initial Consultation" appointment type selected
- Client marked as new
- Intake notes added
- Pre-session forms triggered (if configured in Acuity)
Beauty Services
Scenario: Client needs hair appointment ASAP
Flow:
- Client asks for soonest hair appointment
- Assistant checks for same-day or next-day availability
- Finds opening tomorrow at 2pm
- Books with preferred stylist
- Adds note about service requested
- Confirms appointment
Acuity sync:
- Appointment booked with stylist
- Service type noted
- Client preferences saved
- Confirmation sent with cancellation policy
Configuration Options
Appointment Type Filtering
Control which services the assistant can book:
- In Agent Tab → Integrations → Acuity Settings
- Click "Configure Appointment Types"
- Select which types to make bookable via phone:
- ✅ Standard appointments
- ✅ Initial consultations
- ❌ Package appointments (handle in-person)
- ❌ Administrative appointments
Some appointment types may require in-person assessment or payment upfront, making them unsuitable for phone booking.
Practitioner Assignment
Configure how appointments are assigned:
Option 1: Client Choice
- Client can request specific practitioner
- Assistant checks that person's availability
- Falls back to alternatives if unavailable
Option 2: Next Available
- System finds first available practitioner
- Best for clients with no preference
- Optimizes fill rate
Option 3: Round Robin
- Distribute appointments evenly
- Good for group practices
- Balances practitioner workloads
Configure in Acuity Settings → Assignment Rules
Time Zone Handling
Acuity automatically handles time zones:
- Client's location detected from phone number
- Appointment times offered in client's local time
- Converts to your practice time zone
- Prevents booking confusion
Buffer Times
Configure buffer time between appointments in Acuity:
- Cleanup time
- Travel time (mobile services)
- Practitioner breaks
- Room turnover
Assistant respects these buffers automatically.
Best Practices
1. Keep Acuity Data Current
Your assistant relies on accurate Acuity data!
✅ Do:
- Update calendars when schedules change
- Mark practitioner time off immediately
- Keep appointment type descriptions current
- Update pricing when it changes
- Set proper buffer times between appointments
❌ Don't:
- Manage appointments outside Acuity
- Forget to block vacations/holidays
- Leave outdated appointment types active
2. Set Clear Availability
Configure realistic availability in Acuity:
- Set true business hours
- Block personal time
- Account for admin tasks
- Include lunch breaks
- Mark holidays in advance
3. Handle Cancellations
Add cancellation policy to instructions:
Cancellation Policy:
- We require 24-hour notice for cancellations
- Late cancellations may incur a fee
- To cancel or reschedule, call us at [phone number]

Note: The assistant can take cancellation requests but does not process them automatically. Inform clients you'll have someone confirm the cancellation.
4. Collect Important Information
Train assistant to gather key details:
For each appointment, collect:
- Client name (first and last)
- Phone number
- Email address
- Reason for visit (brief)
- Any allergies or medical conditions (healthcare)
- Special requests or accommodations needed
- Preferred practitioner (if any)

Add all relevant information to appointment notes.
5. Manage First-Time Clients
Special handling for new clients:
For first-time clients:
- Explain what to expect at their appointment
- Mention intake forms they'll receive via email
- Inform them to arrive 10 minutes early
- Share parking/location information
- Explain cancellation policy
Troubleshooting
"Acuity integration not working"
Check these:
- ✅ Integration shows "Connected" (green checkmark)
- ✅ Integration is toggled ON for this assistant
- ✅ Acuity account is active
- ✅ Appointment types are configured in Acuity
- ✅ Calendars are set up and available
Still not working?
- Disconnect and reconnect integration
- Check Acuity's system status
- Verify appointment types are active
- Contact support with call transcript
"Appointments not appearing in Acuity"
Possible causes:
-
Appointment type not found
- Ensure appointment type exists in Acuity
- Check spelling matches exactly
- Verify appointment type is active
-
No availability
- Check calendar has open slots
- Verify business hours are set
- Ensure practitioner calendar isn't blocked
-
Client information incomplete
- Email address may be required
- Check Acuity settings for required fields
Debug:
- Review call transcript
- Try booking manually in Acuity
- Check Acuity activity log
"Client duplicates being created"
Acuity matches clients by:
- Email address (primary)
- Phone number
- Name
To prevent duplicates:
- Always collect email address
- Use consistent phone number format
- Confirm name spelling
- Clean up duplicates periodically in Acuity
"Integration disconnected"
Why this happens:
- Acuity authorization expired
- Account password changed
- Permissions revoked
- Account downgraded or suspended
How to fix:
- Go to Integrations page
- Click "Reconnect" next to Acuity
- Re-authorize access
- Integration resumes working
Pricing & Availability
Voka AI Side
- ✅ Acuity integration included in Starter plan and higher
- ✅ No per-appointment fees
- ✅ No API call limits
Acuity Side
- Works with all Acuity plans
- Standard Acuity subscription pricing applies
- No extra fees for API usage
Security & Privacy��
Data Protection
- ✅ OAuth 2.0 secure authorization
- ✅ Encrypted connections (TLS/HTTPS)
- ✅ No passwords stored by Voka AI
- ✅ Tokens encrypted at rest
- ✅ HIPAA-compliant infrastructure
Access Scope
What Voka AI accesses:
- Appointment data (create and read)
- Client information (name, phone, email)
- Appointment types and calendar availability
- Practitioner schedules (read-only)
- Business settings (read-only)
What Voka AI CANNOT access:
- Payment information
- Credit card details
- Intake form responses (unless specifically enabled)
- Private practitioner notes
HIPAA Compliance
For healthcare providers using Acuity:
- Voka AI can be configured for HIPAA compliance
- Business Associate Agreement (BAA) available on Enterprise plan
- PHI handling follows HIPAA guidelines
- Encryption for data at rest and in transit
Contact sales for HIPAA compliance details.
Disconnect Anytime
- Go to Integrations page
- Click "Disconnect"
- Access revoked immediately
- Appointments remain in Acuity
Advanced Features
Multiple Practitioners
For group practices:
- Each practitioner has their own Acuity calendar
- Assistant can check all calendars
- Offer availability across all practitioners
- Or filter by client's preferred practitioner
- Handle specialty-based assignment
Package Appointments
For appointment packages in Acuity:
- Assistant can book individual sessions from packages
- Client must purchase package first (in-person or online)
- Assistant notes package usage
- Tracks remaining sessions
Class & Group Sessions
For group appointments:
- Assistant can book into group sessions
- Checks remaining capacity
- Confirms class/session details
- Notes any special requirements
Custom Forms
If you use Acuity intake forms:
- Forms automatically sent after booking
- Assistant can mention forms in confirmation
- Forms must be completed before appointment
- Reminder sent with appointment confirmation
FAQs
Does this work with Acuity mobile app?
Yes! Appointments created by your assistant appear instantly in the Acuity mobile app for practitioners.
Can clients reschedule through the assistant?
Currently, the integration supports creating new appointments. Rescheduling features are planned. For now, direct clients to reschedule via their confirmation email or by calling.
Does it sync with Google Calendar/Outlook?
If you have Acuity synced with Google Calendar or Outlook, appointments booked via your assistant will also sync to those calendars automatically through Acuity.
Can the assistant handle payment?
The assistant doesn't process payments. However, if you have Acuity configured to accept online payments, clients will receive a payment link in their confirmation email.
What about intake forms?
Acuity automatically sends intake forms after booking based on your configuration. Your assistant can mention this: "You'll receive an intake form via email to fill out before your appointment."
Can we use this for classes and workshops?
Yes! The integration works with Acuity's class and group appointment features. The assistant can check capacity and book clients into available sessions.
Does it handle time zones correctly?
Yes! Acuity automatically handles time zone conversion. The assistant offers times in the client's local time zone.
Connected to Acuity? 🎉 Your assistant is now booking appointments 24/7! Professional scheduling has never been easier.